Vegetable gardens in winter? Grow microgreens indoors!
If you’re a fan of vegetable gardening, you know how hard it can be to keep your green fingers busy during the winter months. It’s cold outside, the ground is frozen, and the days are short. But did you know you can also garden indoors? Microgreens are the perfect solution! In this blog, you’ll discover how easy it is to grow microgreens and why they’re a great winter activity.
What are microgreens?
Microgreens are young, edible plants that can be harvested after just 7-10 days. They are packed with flavor and nutrients and are a great addition to salads, soups, sandwiches, and more. Popular varieties include broccoli, radish, sunflower, and pea shoots. The great thing about microgreens? They don’t require much space and you can grow them all year round, even on a windowsill.
Why grow microgreens in winter?
During the winter months, vegetable gardeners often have little to do. Microgreens offer a way to continue your hobby. Here are a few reasons why microgreens are ideal for the winter:
- Simple and fast : You can harvest within a week.
- No outdoor space required : Everything happens indoors, ideal for cold months.
- Healthy and tasty : A source of vitamins and minerals during the dark winter days.
- Fun and educational : Also perfect to do together with children.
What do you need?
Growing microgreens requires only a few simple materials. Here's what you'll need:
-
Growing trays : Flat trays without deep edges.
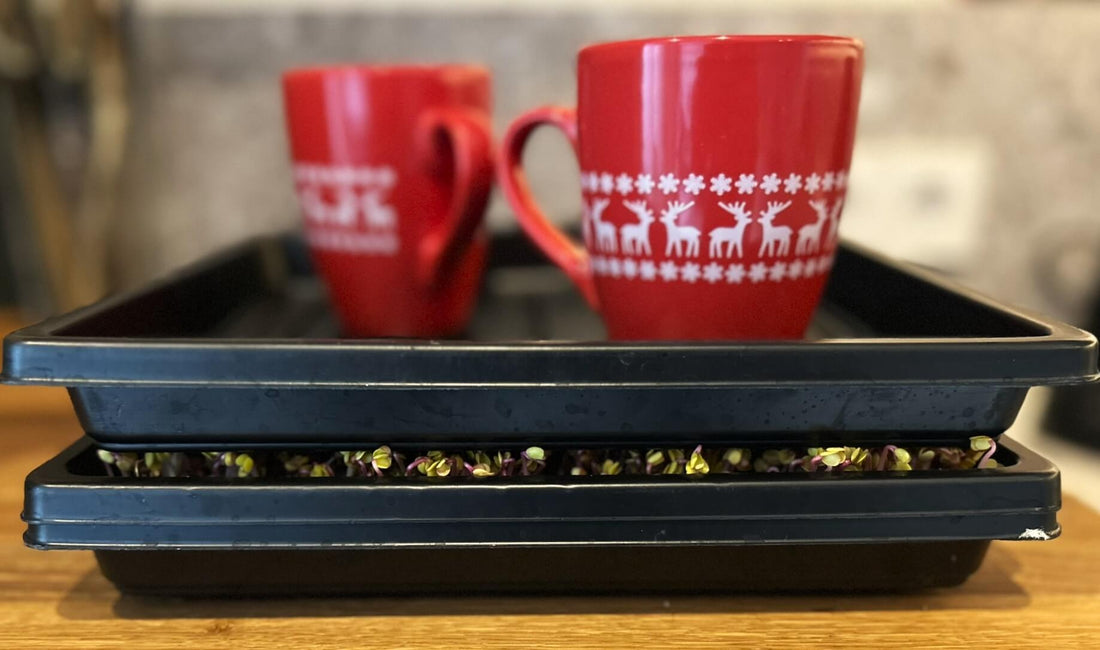
- Our advice is to use 2 or ideally 3 special microgreens trays where a tray with holes is placed in a solid tray as drainage, and a solid tray is placed on the seed as a perfect cover.
- Substrate : Coconut fiber , potting soil or a special mat for microgreens.
- Seeds : Choose microgreen seeds such as radish , broccoli , or sunflower .
- Water : Keep the soil moist, but not soaked.
- Lighting : Natural light is often sufficient, but a grow light can help on dark days.
How to Grow Microgreens Step by Step
- Prepare your tray : Fill the tray with your chosen substrate.
- Sow the seeds : Sprinkle a thin layer of seeds evenly over the surface.
- Moisten the seeds : Use a plant sprayer to water without disturbing the seeds.
- Cover the tray : Place a lid or dark cloth over the tray for the first 2-3 days.
- Remove the cover : Once the seedlings start to grow, place the tray in a bright spot.
- Harvesting : Cut the microgreens when they are 5-10 cm tall. This is usually after 7-10 days.
Inspiration and applications
Microgreens are not only fun to grow, but also versatile in the kitchen. Add them to:
- Salads for extra crunch.
- Soups as a tasty garnish.
- Smoothies for a healthy boost.
- Sandwiches and wraps for a fresh touch.
Conclusion
Microgreens are the perfect way to continue gardening in the winter. They are easy, fast and bring a little bit of nature into your home, even on the darkest days. So what are you waiting for? Try it yourself and discover how fun and easy it is to grow microgreens! Check out our all-in-one starter kits so you can get started growing right away!
Want to know more?
Visit our webshop for seeds and supplies to get started today. Or read our other blogs for more tips and inspiration.


