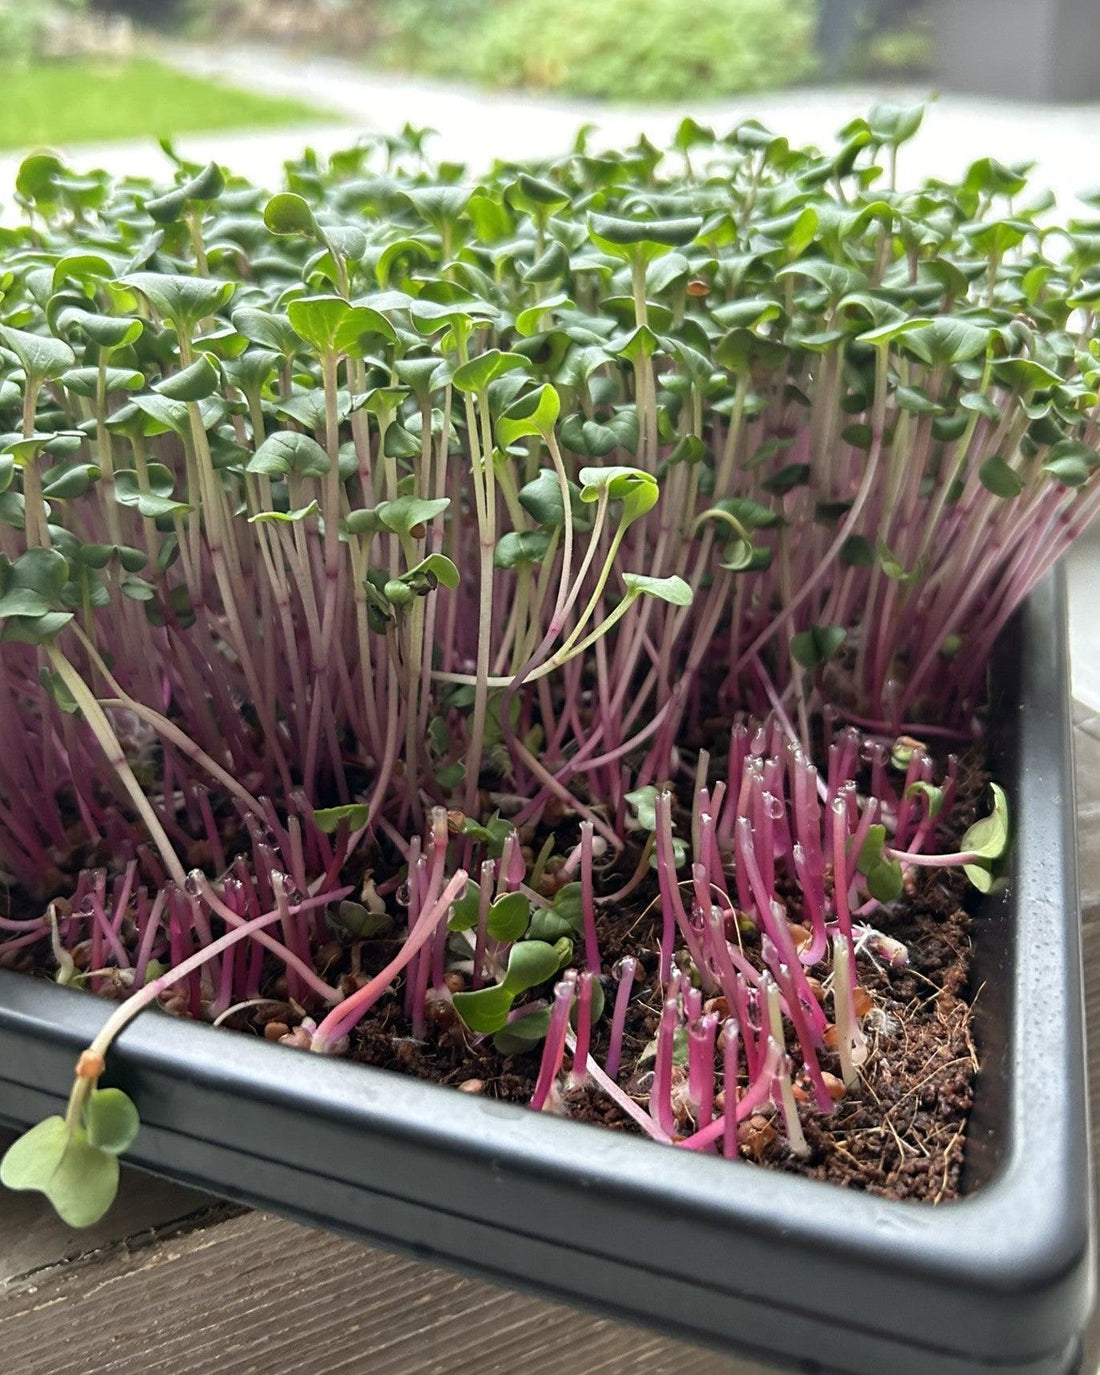
How to Grow Your Own Microgreens at Home: A Beginner's Guide
How to Grow Microgreens at Home: A Beginner's Guide
Microgreens are not only a beautiful addition to your kitchen, but they are also easy to grow at home. Whether you are an experienced gardener or just starting out, microgreens are the perfect choice. This beginner’s guide will teach you step-by-step how to grow your own fresh microgreens.
Supplies
To grow microgreens at home, you don’t need much. Here’s what you’ll need in the basics:
- Seeds – Choose sunflower , broccoli , radish , or pea , for example.
- Substrate – Use potting soil or another suitable medium such as coco fiber .
- Growing Tray or Container – This can be a shallow tray or container, as long as it can drain. Check out our professional and durable growing trays specifically designed for growing microgreens.
- Water – To keep the substrate moist, and a plant sprayer is useful for the delicate seeds.
- Optional : A grow light – Especially useful in winter or when there is a lack of natural light.
With our microgreens starter kits you have all the necessary items together.
Step-by-step Guide
Step 1: Prepare the tray and substrate
Start by filling the growing tray with +-2cm of your chosen substrate. Make sure the substrate is evenly distributed and slightly moist, without water on the bottom. Try to press the substrate lightly to get the surface as flat as possible , this helps with the distribution of the microgreens seed.
If you use professional microgreens growing trays read this: Place the tray with holes in the solid tray without holes, fill the tray with holes with substrate. This way you can pour water into the solid tray after germination, so that the substrate can absorb water from below and the microgreens do not get wet which greatly improves the quality.
Step 2: Sowing the microgreens
Weigh the seeds to the recommended density as stated on our products. Spread the seeds evenly over the substrate, use a small glass or jar for this. We recommend spreading half of the seed over the entire surface first and then a second round to improve the distribution. Make sure that the seeds are not too close together , so that there is room for air circulation later on in a later stage, this ensures healthier microgreens.
Step 3: Watering
After sowing, use a plant sprayer to moisten the microgreens seed. You can also use a watering can or a glass of water to moisten the substrate, but make sure there is no puddle of water on the bottom of the tray.
Step 4: Cover and germinate
Cover the container with a dark lid or another tray to let the seeds germinate in the dark. It is important that the tray or lid covers well , and exerts enough weight on the seed for the first few days to let the germinating seed root well. Place the container in a pleasantly warm place, such as a windowsill. You can wait a few days for the plants to push the tray or lid up, or secretly check how the germination is going, but make sure that the lid or tray continues to cover the seed until day 3-4. You do not need to water if the tray or lid seals well enough.
Step 4: Place in the light
After about 3-4 days the seeds will have germinated. Remove the lid and place the tray in a place with a lot of light , such as a sunny windowsill. If there is not enough daylight, a lamp can help to get strong, healthy microgreens. Water immediately after uncovering the plants, possible soil fungi that have formed under the lid will be eradicated and will die in the light.
Step 5: Watering and care
Microgreens need regular watering. The best way to water is to keep the substrate moist and the plants as dry as possible to prevent mold. When using an open and closed tray , water through the closed tray to keep the microgreens completely dry and to make watering easier.
Care tips
- Light : Provide sufficient light to prevent the microgreens from growing long and thin.
- Water : Avoid overwatering; the substrate should remain moist, but not soaked.
- Temperature and Humidity : Keep the environment at room temperature and provide ventilation, especially when the humidity is high.
Harvesting and Use
Microgreens are usually ready to harvest after 7-10 days. Harvest them when they are about 5-10 cm tall by cutting or slicing them just above the substrate. Add them to salads, sandwiches, smoothies, or use them as a garnish for extra flavor and nutrients.
Common Mistakes and How to Avoid Them
- Overwatering : This can lead to mold. Use a plant sprayer and make sure the tray can drain well.
- Lack of Light : Microgreens need a lot of light to grow strong and healthy. Consider a grow light in low light conditions.
Closure
Growing microgreens is easy, fast and super healthy. Whether you choose herbs, vegetables or special varieties, it is a fun way to enrich your meals with flavor and color. Try it yourself and discover your favorite microgreens!
Also read our other blogs in the Microgreens Magazine


